Choose your path
Play and create on a modern CoCo
Buy a fully assembled kit with a DE10-Nano board and 128 MB SDRAM, write the Coco 3 Plus image to a spare microSD card, then power on. Start at Disk Extended Color BASIC, load your own software, or try the included Quadrapassel, Capital Quest and Bone Quest games in the complete card image. If you already have MiSTer, you can also install the core alongside your existing setup using the prebuilt copy-on package.
The dedicated image prepares Quadrapassel in drive 0. Type DOS at BASIC to play. Each game has an online guide and a PDF guide on the card.
Start with the hardware guide, then bring your VCC Plus software to the machine using network file sharing or your microSD card.
Develop the FPGA implementation
Build the core, examine its logic and help extend the machine. The source retains its upstream history and original notices. Windows build scripts prepare public development tools, assemble the CoCo boot ROMs from pinned ToolShed sources, run the build and package an installation.
The qualified FPGA toolchain is Quartus Prime Lite 17.0.2, Build 602, with Cyclone V support.
Explore the source and Windows build guide. The download page links to the public repository, the exact release revision and the instructions for building from a full Git checkout.
A familiar machine, organized for MiSTer
- Four configurable cartridge slots, with a separate startup-slot selection.
- Nine menu pages separating cartridges, floppies, CoCo SDC, sound, cassette, machine settings, display, input and advanced controls.
- Stereo Orchestra90 and an optional Sound & Speech implementation using the original controller and speech firmware.
- Selectable extended-palette mode. It shares register space with Sound & Speech, so the selected expansion mode chooses which implementation owns those addresses.
- USB keyboard and joystick input, with disks stored as files on the card.
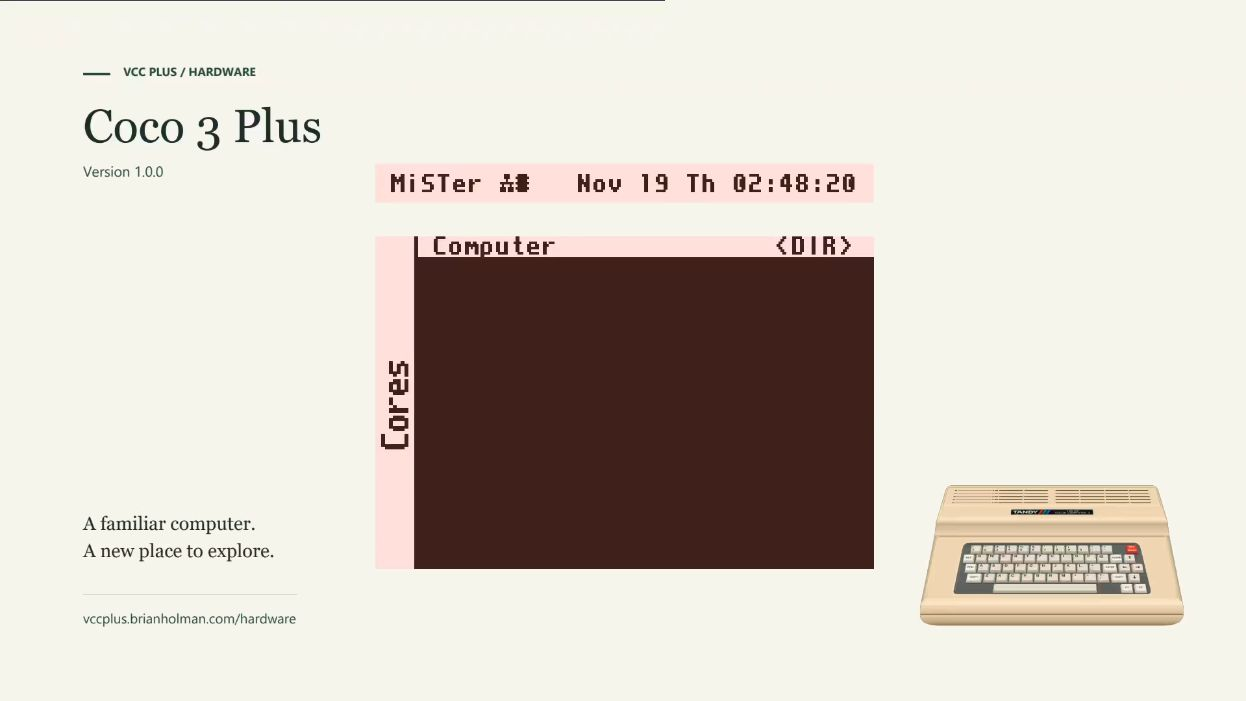
The MiSTer menu shows the Coco 3 Plus version.
Our reference hardware
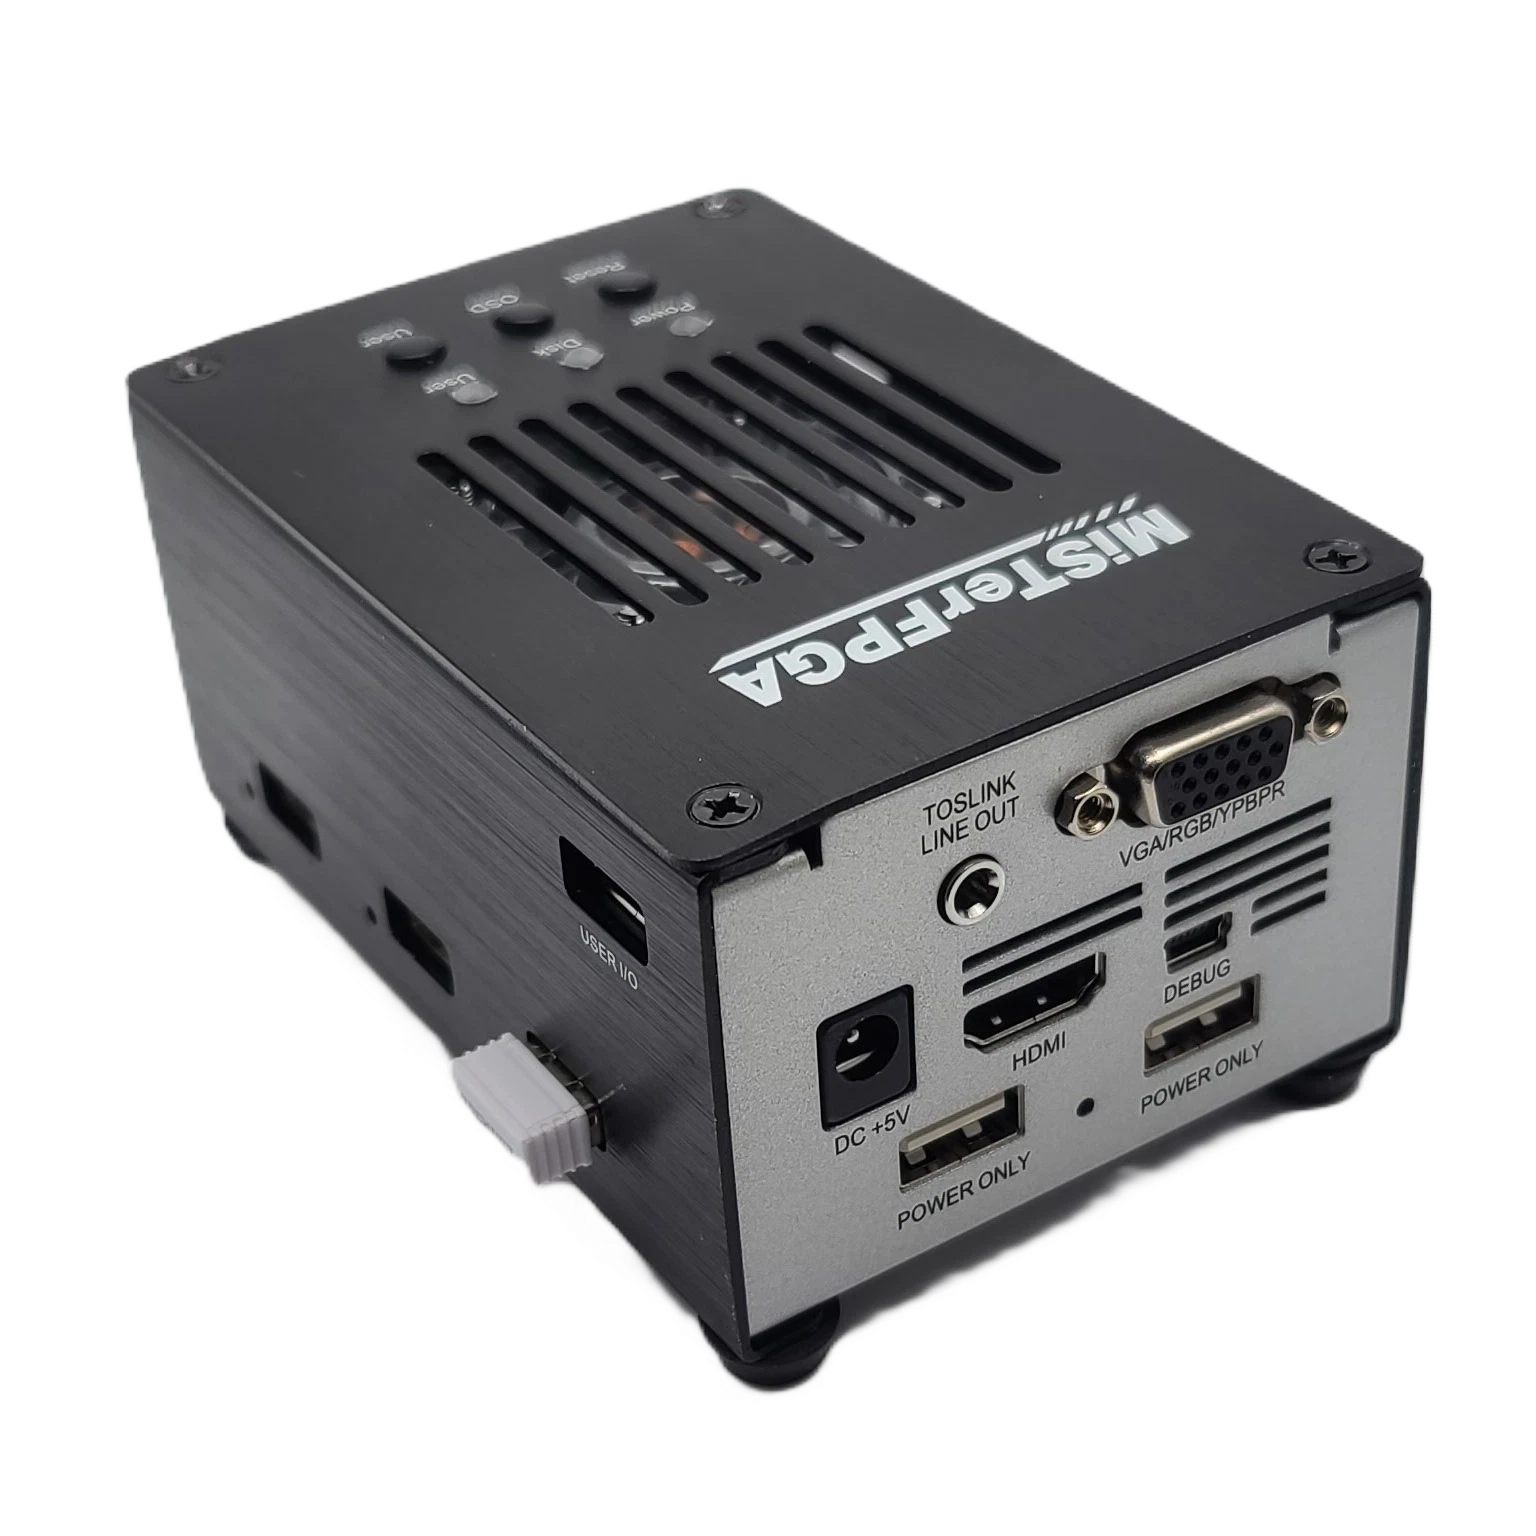
We use an assembled iCode MiSTer kit with the following configuration. These details describe that reference setup; other kits may expose different connectors.
| Component | Reference configuration |
|---|---|
| Main board | Terasic DE10-Nano, Cyclone V SoC FPGA with ARM host processor |
| Expansion memory | 128 MB SDR SDRAM module |
| Storage | 64 GB primary microSD card |
| Video | HDMI; VGA available on the reference I/O board |
| Audio | HDMI and the I/O board’s 3.5 mm output; optical support depends on the board |
| USB | Powered hub with six additional ports |
| I/O board | VGA/audio, secondary SD slot, three buttons and three status LEDs |
| Clock | RTC V1.3 add-on board |
| Cooling and case | Heat sink, cooling fan and metal enclosure |
| Network | Ethernet on the DE10-Nano |
The 128 MB module is MiSTer hardware memory, not a claim that the emulated CoCo has 128 MB of RAM. The prepared first-release profile selects 512 KB of CoCo memory for the included games.
Use the DE10-Nano’s primary microSD slot to boot. The extra I/O-board SD slot is not a second interchangeable system boot slot. Follow your kit’s power wiring, including the intended USB-hub power connection. A port marked POWER ONLY cannot carry keyboard data.
Finding hardware
Choose a fully assembled MiSTer FPGA kit to start with the boards, hub, cooling and enclosure already fitted. The reference unit came from iCode’s eBay storefront. See also iCode’s assembled MiSTer kit on its own website. Budget roughly US$500–$600 for an assembled kit like the one shown. Prices and included storage vary; check the selected configuration before ordering. For other sellers, an eBay kit search is another starting point.
Before you order
- DE10-Nano board: choose a kit built around the Terasic DE10-Nano.
- 128 MB SDRAM module: this matches our tested reference system.
- USB hub: check that the kit includes its hub, data connection and intended hub power connection.
- Power supply: use the supply and wiring specified for the assembled kit.
- Spare microSD card: a separate 64 GB card matches our reference setup and lets you keep the kit’s original card.
- Card reader: connect the spare microSD card to your Windows PC, Mac or Linux computer to write the boot image.
- HDMI display and cable: a television or monitor gives the machine its screen.
- Wired USB keyboard: this is enough to use the menus, BASIC and the first game.
Check the selected kit’s I/O-board version and included storage too. Ethernet is optional for local play; the first boot uses the prepared card.
For the base board and specifications, see the Terasic DE10-Nano product page. An unexpanded DE10-Nano board is not the same purchase as a complete assembled MiSTer kit. Coco 3 Plus is not supplied or endorsed by these hardware vendors.
From the kit to your first game
- Write the complete Coco 3 Plus IMG to your spare microSD card with the card-preparation guide.
- With power off, insert that card in the DE10-Nano’s primary slot, connect HDMI and the keyboard, and power the whole kit using its intended wiring.
- Allow the first installation to finish. At CoCo BASIC, type DOS to start Quadrapassel from the automatically prepared drive-0 disk.
Optional remote access
JetKVM lets you view and control a MiSTer in another room from your browser. For local play, connect a screen and USB keyboard.
What to expect on first boot
Allow up to five minutes for the first boot. If the MiSTer menu or CoCo BASIC screen has not appeared, power the machine off and on once. See the getting-started guide.
Copyright © 2026 Brian K. Holman. Original project and component notices remain with the corresponding source and distribution materials.