From first boot to first game
The prepared Coco 3 Plus image gives your MiSTer a familiar Color Computer and three games to explore: Quadrapassel, Capital Quest and Bone Quest. Start with a USB keyboard, an HDMI screen and a DE10-Nano MiSTer with 128 MB SDRAM. The image selects 512 KB of CoCo memory so all three games have room to run.
Prepare the primary microSD card
Image download
Visit Coco 3 Plus downloads for image availability, version, file size, SHA-256 checksum and release notes. Follow the steps below when you have downloaded the complete disk image.
Write an image with balenaEtcher
Use the complete IMG disk image, rather than a folder of core files. If the image was supplied as a ZIP archive, extract the IMG first. On a Mac, double-click the ZIP in Finder. On Windows, right-click it in File Explorer and choose Extract All. The 1.0.0-b002 download extracts Coco3Plus-MiSTer-1.0.0-b002.img; select that file in balenaEtcher.
Install balenaEtcher and connect a spare microSD card. A 64 GB card matches our MiSTer setup. The screenshots show Etcher on a Mac.
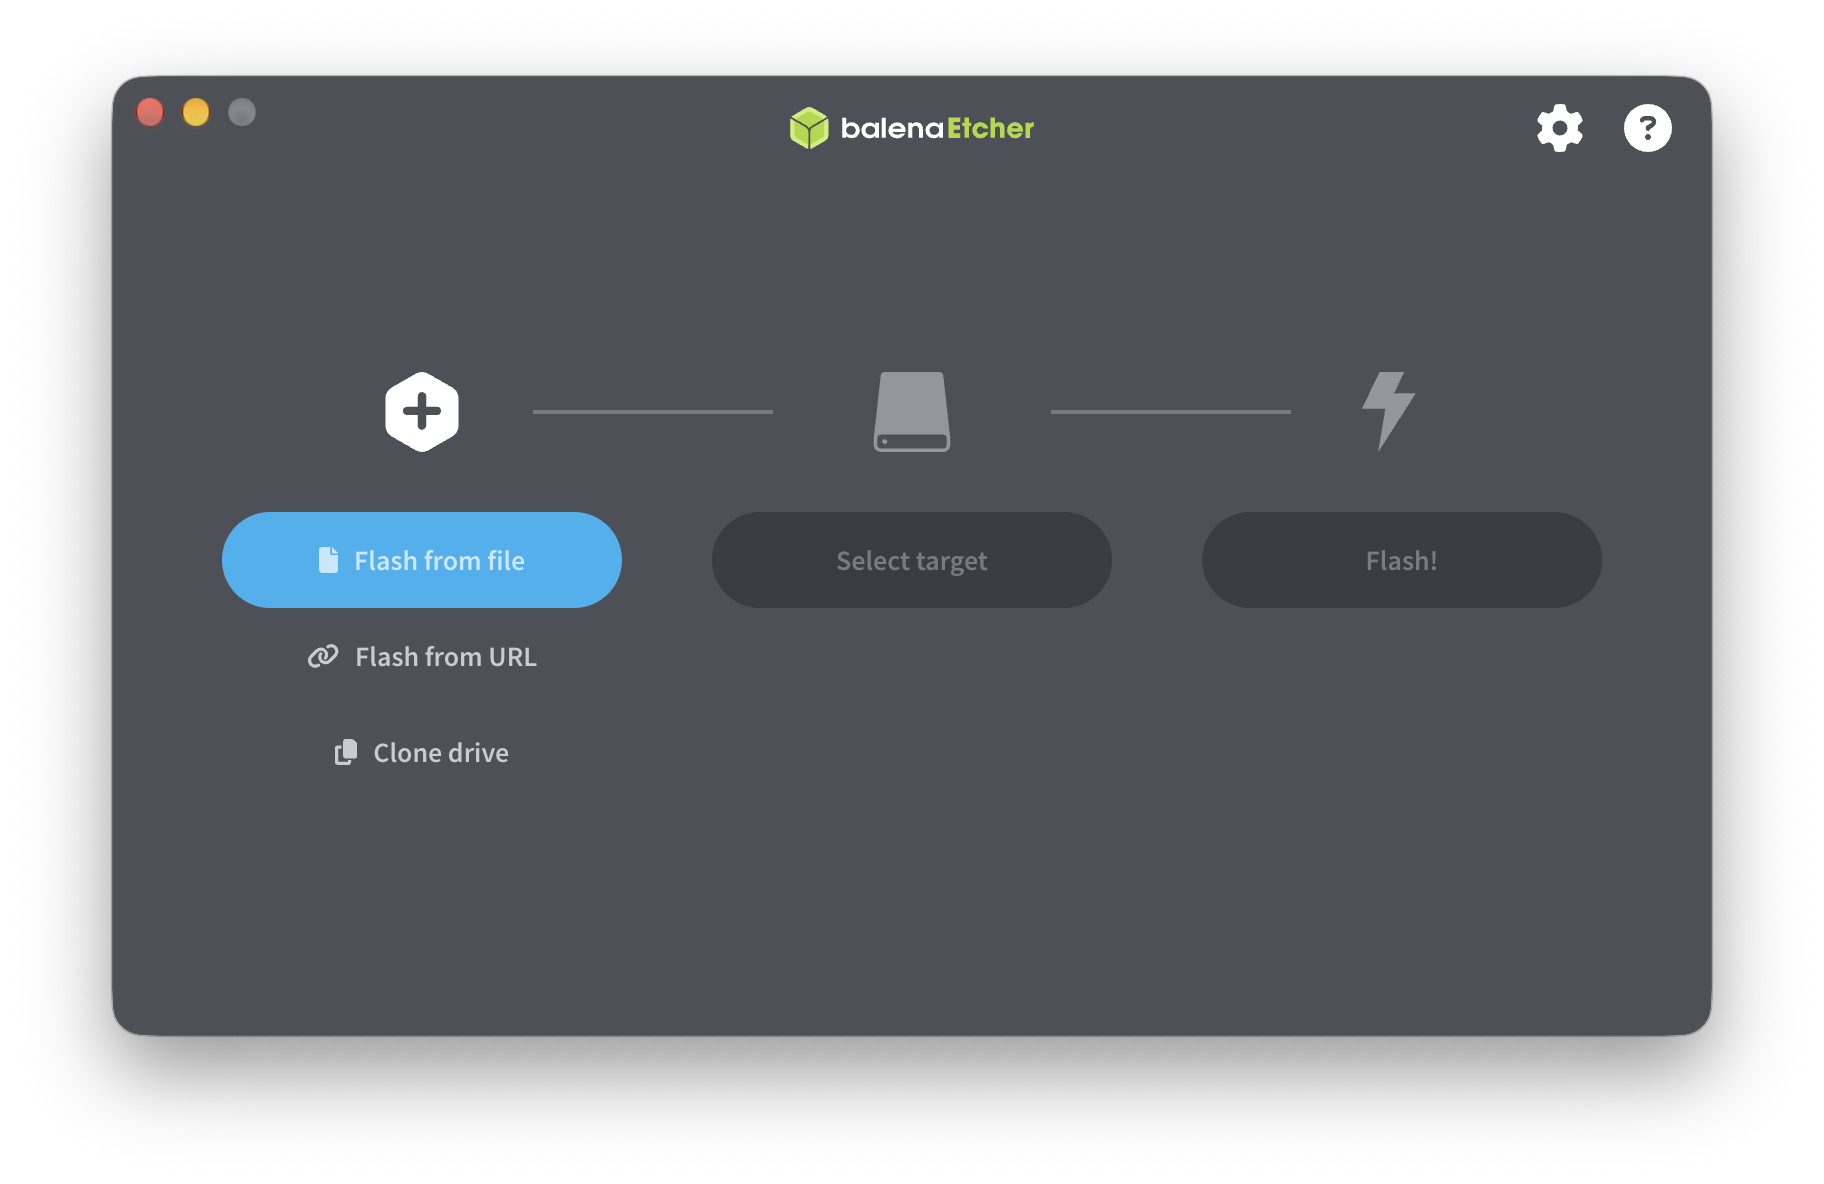
- Choose the image
Click Flash from file and open the .img file you extracted from the Coco 3 Plus ZIP.
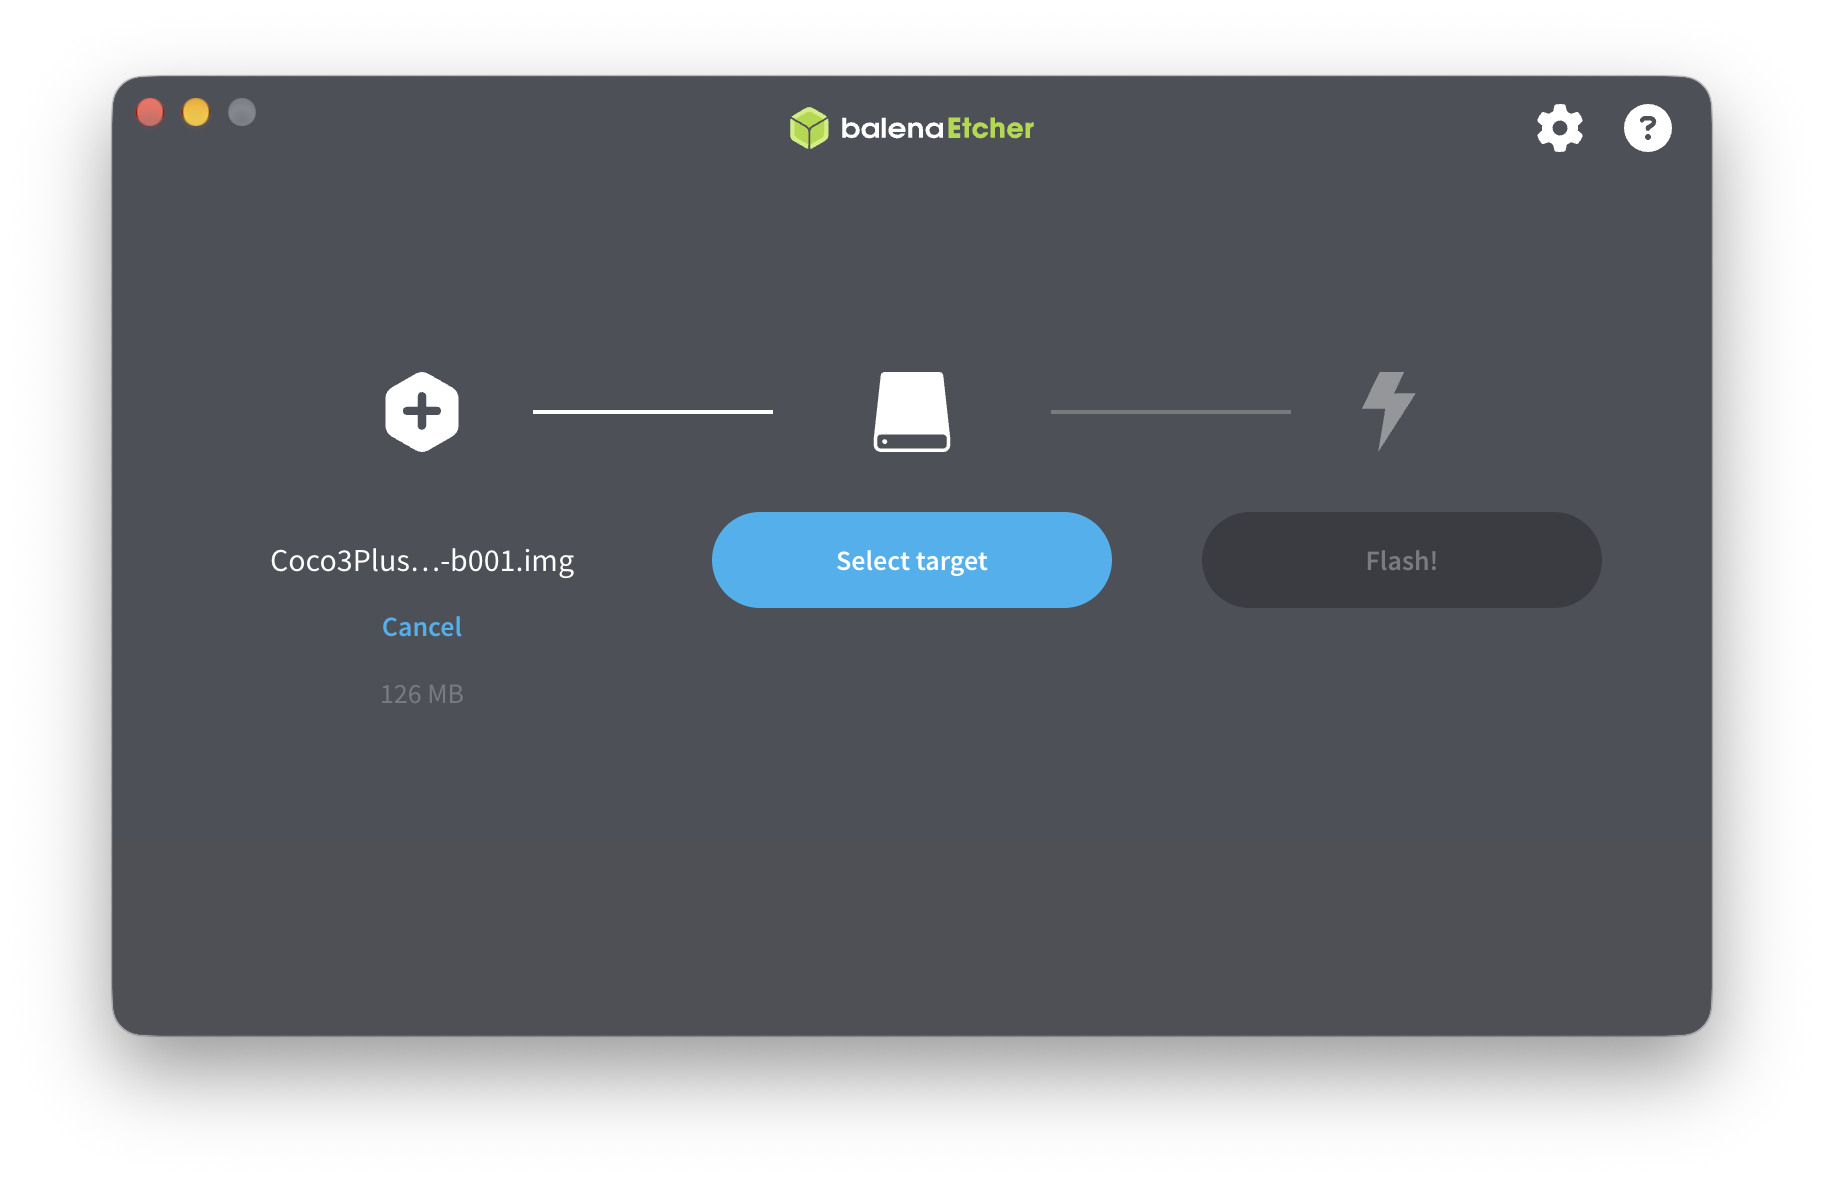
- Open the target picker
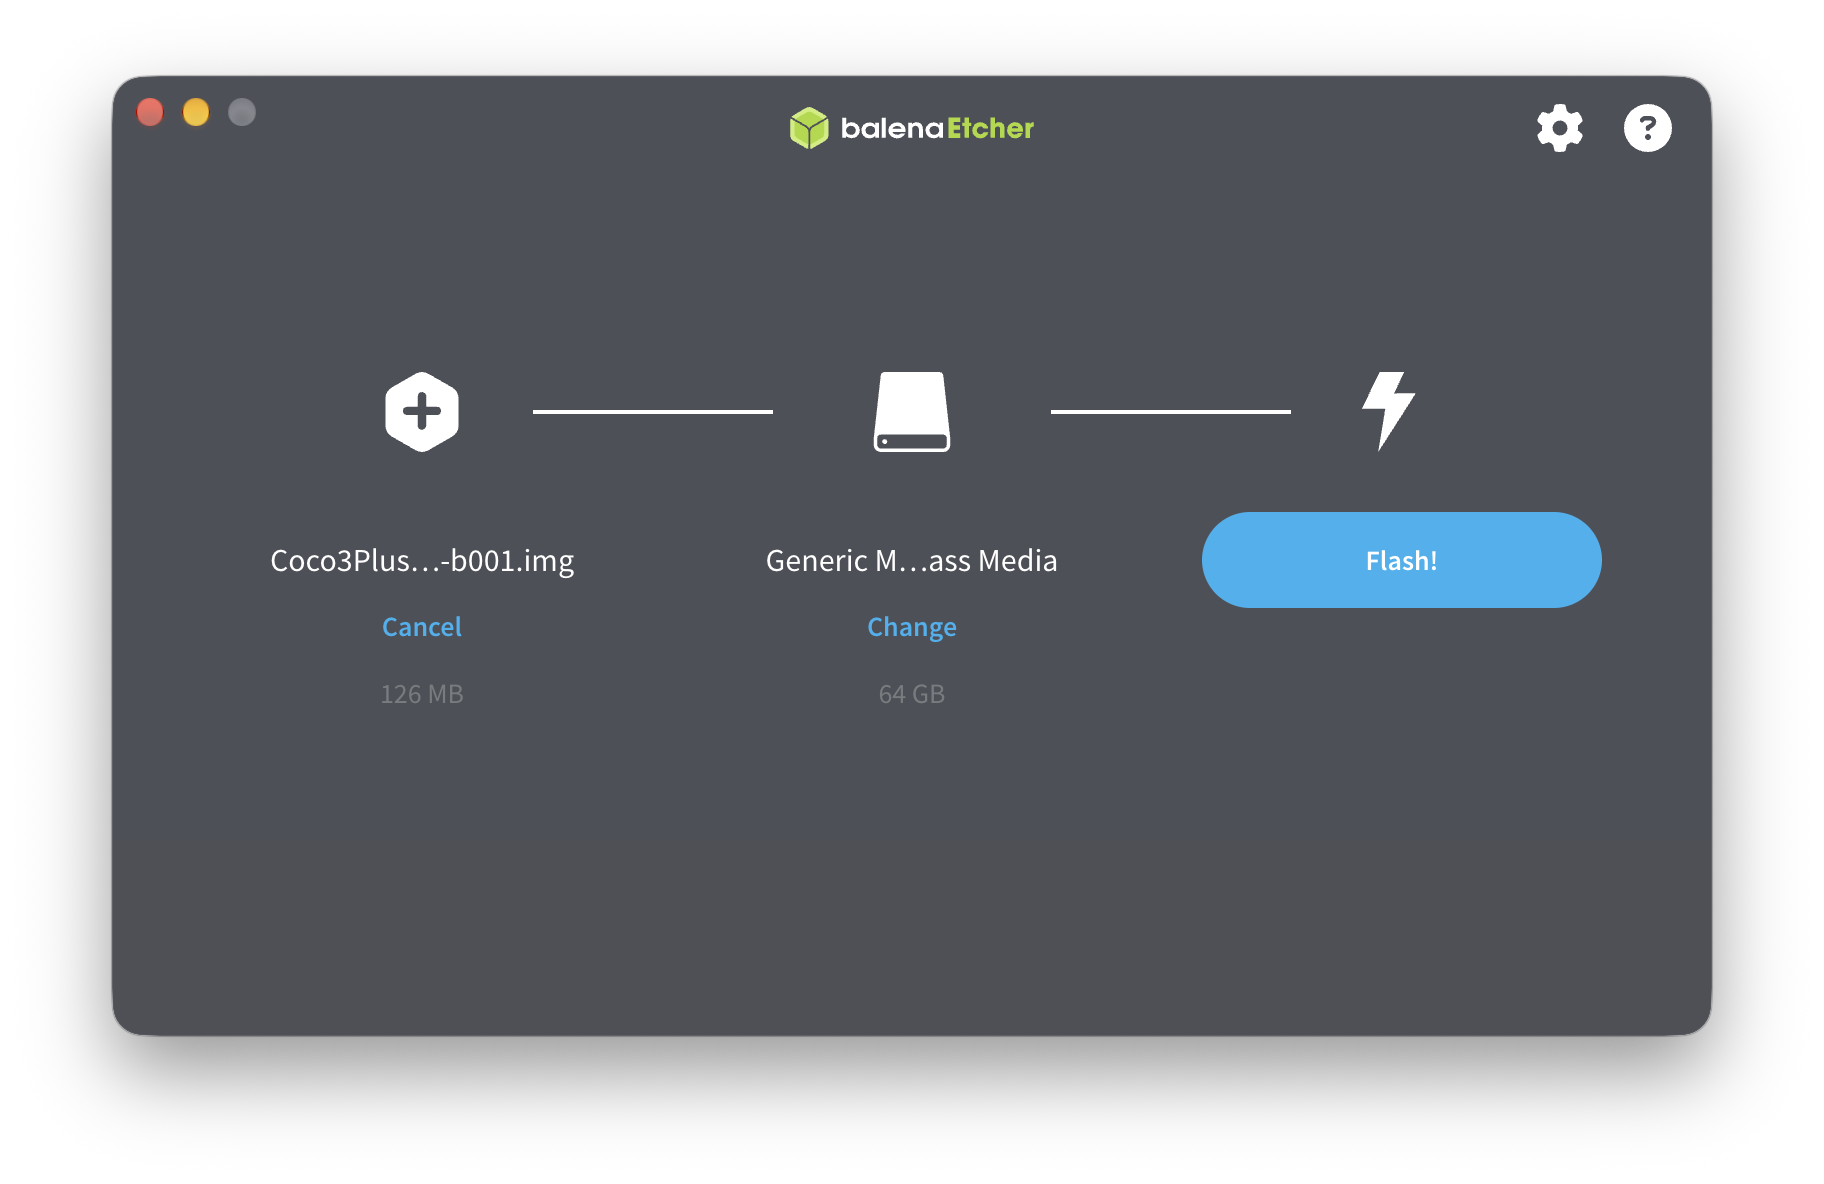
After loading the image, Etcher shows its name on the left, sometimes shortened. Click Select target to find your card.
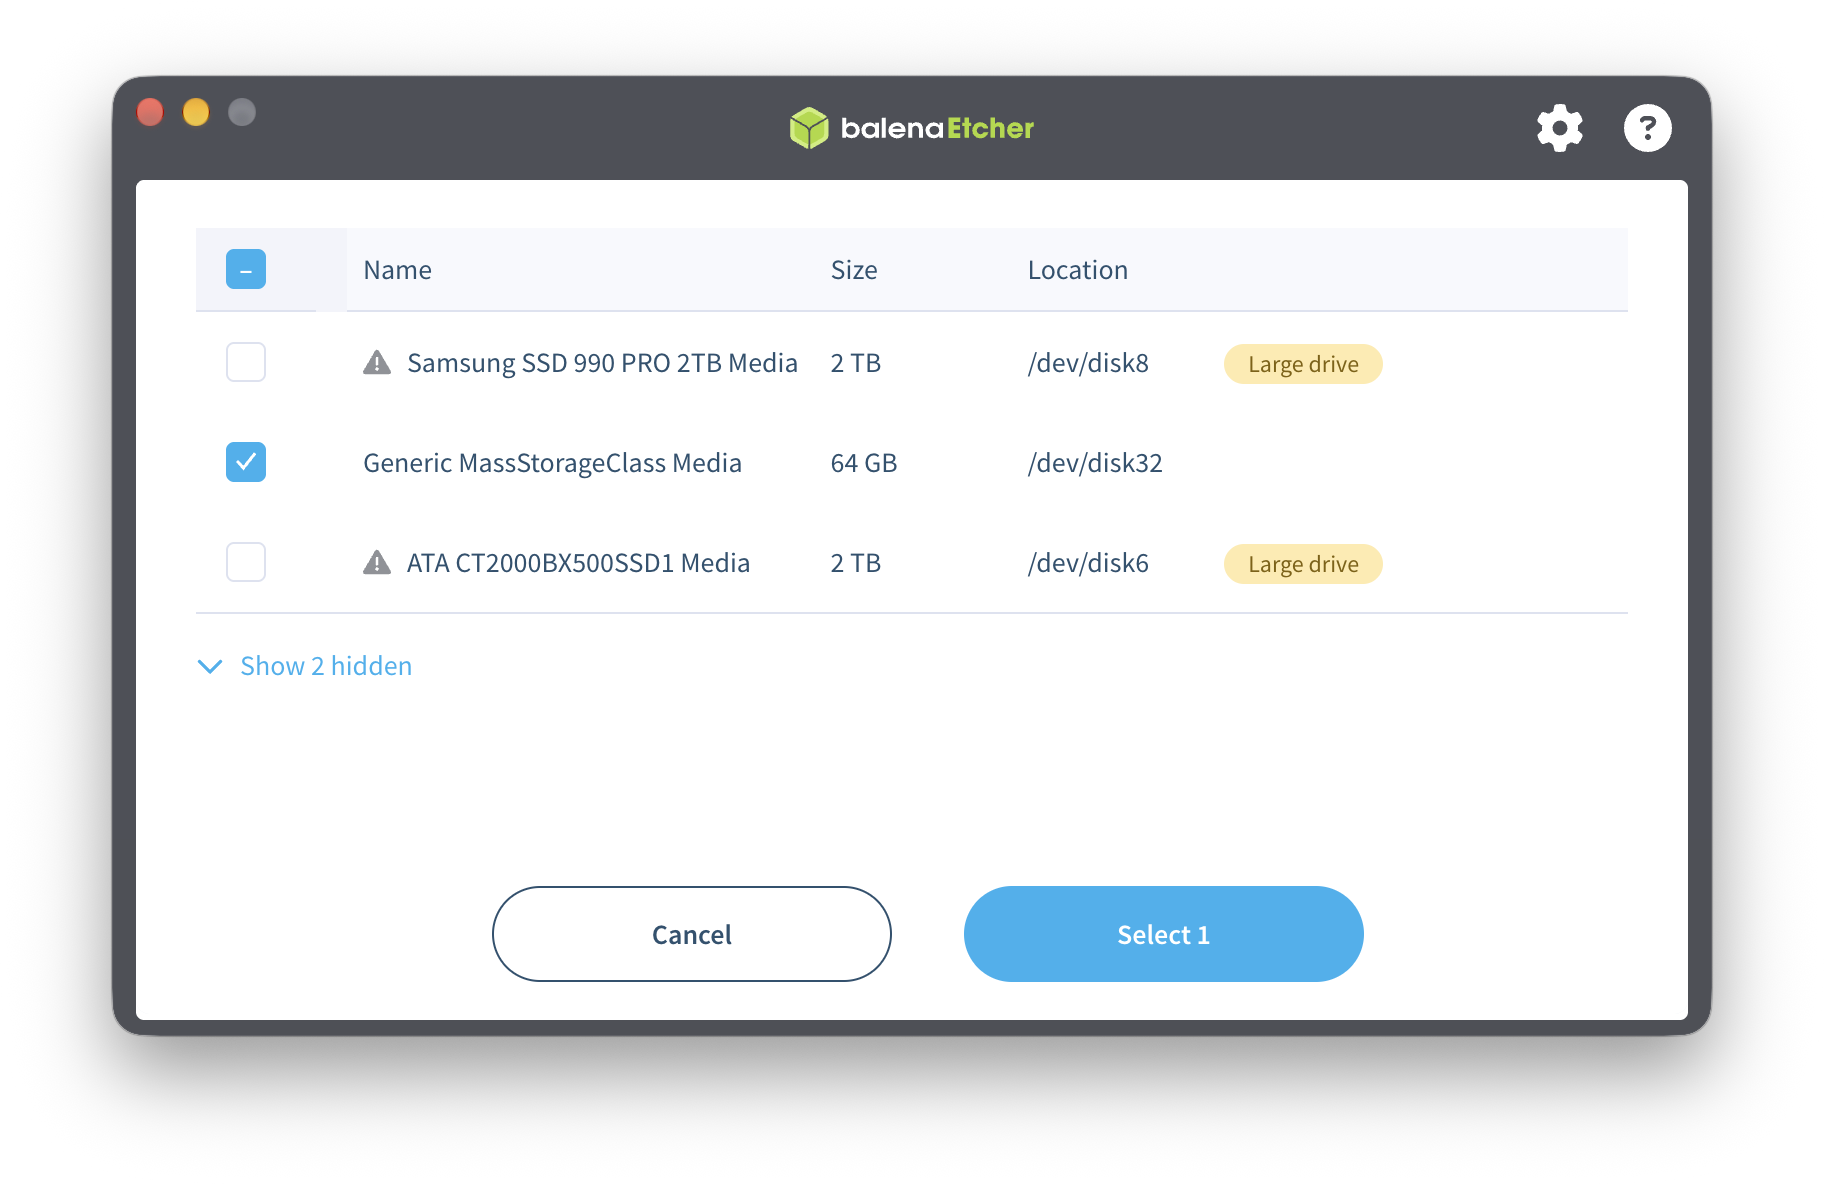
- Select your spare microSD card
The card might appear under your reader’s name or a generic name. Verify the device and capacity, leave every other drive unchecked, then click Select 1. Flashing erases the selected device.
- Double-check the target and flash
Confirm the center column shows your card, then click Flash! Approve the system prompt if asked. Leave the card connected while Etcher writes and verifies it.
- Wait for “Flash Completed!”
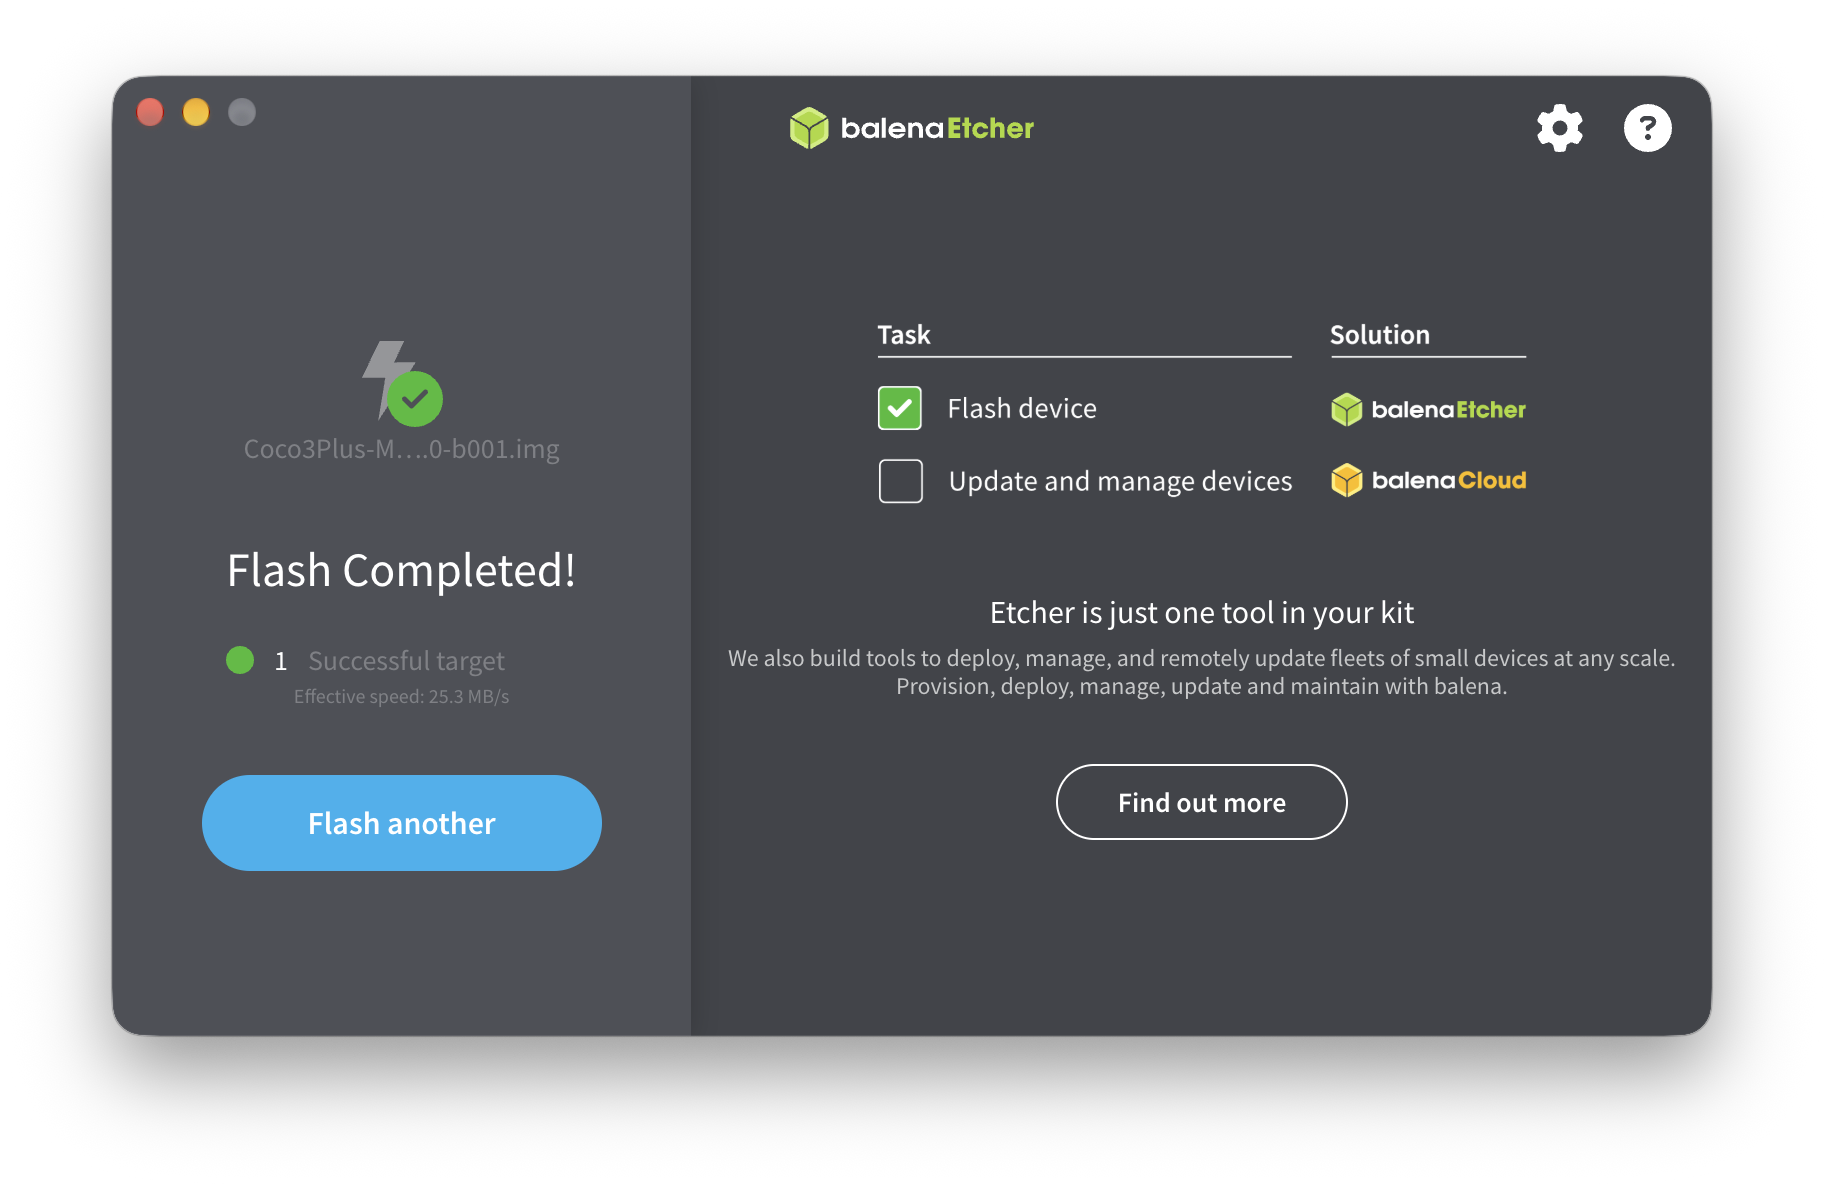
Look for the green check and 1 Successful target. If the card is still mounted, eject it before removing it. Keep the card as Etcher wrote it, then insert it into the MiSTer’s primary microSD slot with power off.
There is no separate FAT32 formatting step. The image includes the boot layout and first-boot installer, which prepares the card’s available capacity. Copying files to an empty FAT32 card does not install that boot layout.
Connect and start
- With power off, put the prepared card in the DE10-Nano’s primary microSD slot. The secondary slot on an I/O board is not the boot slot.
- Connect HDMI, a wired USB keyboard and the kit’s correct power wiring. Supply the USB hub through its intended connection so the keyboard receives power.
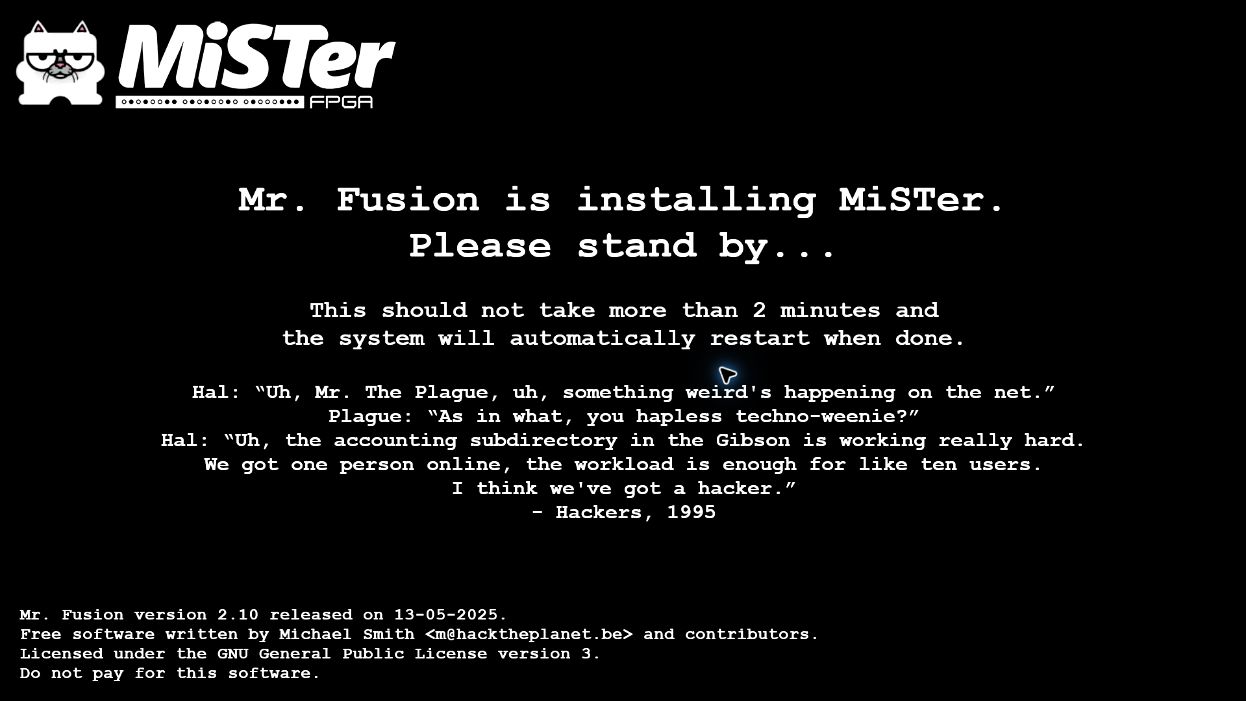
- Power on and let the first-boot installation finish. It prepares the card’s full capacity and restarts the system. Leave power connected while it works.
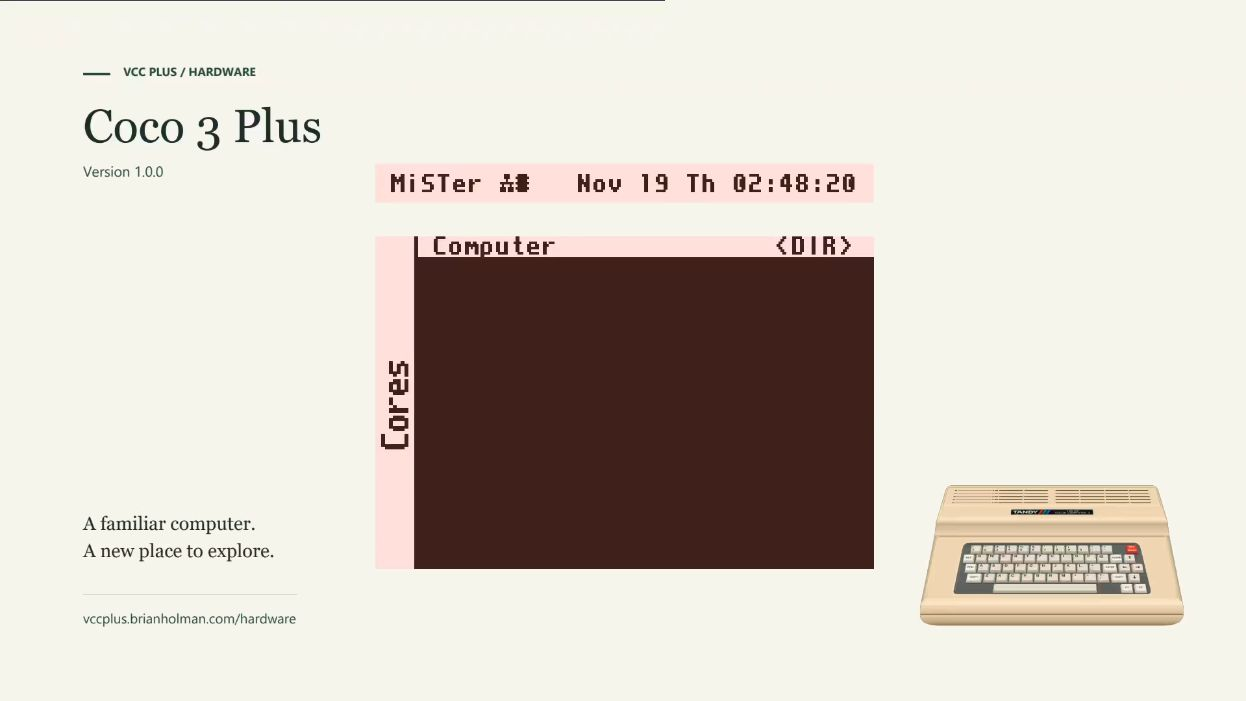
- The dedicated image selects Coco 3 Plus after a ten-second countdown. Press a key during the countdown to stay at MiSTer’s main menu instead; choose Computer > Coco 3 Plus whenever you want to return.
First boot
Allow up to five minutes for the first boot. If the MiSTer menu or CoCo BASIC screen has not appeared, power the machine off and on once.
Type DOS and play
The dedicated image starts at Disk Extended Color BASIC with a writable Quadrapassel disk prepared as drive 0. Type:
DOSPress Enter to start the game. There is no need to compile anything or enter
a program filename. DOS is the standard startup command for all three included
games.
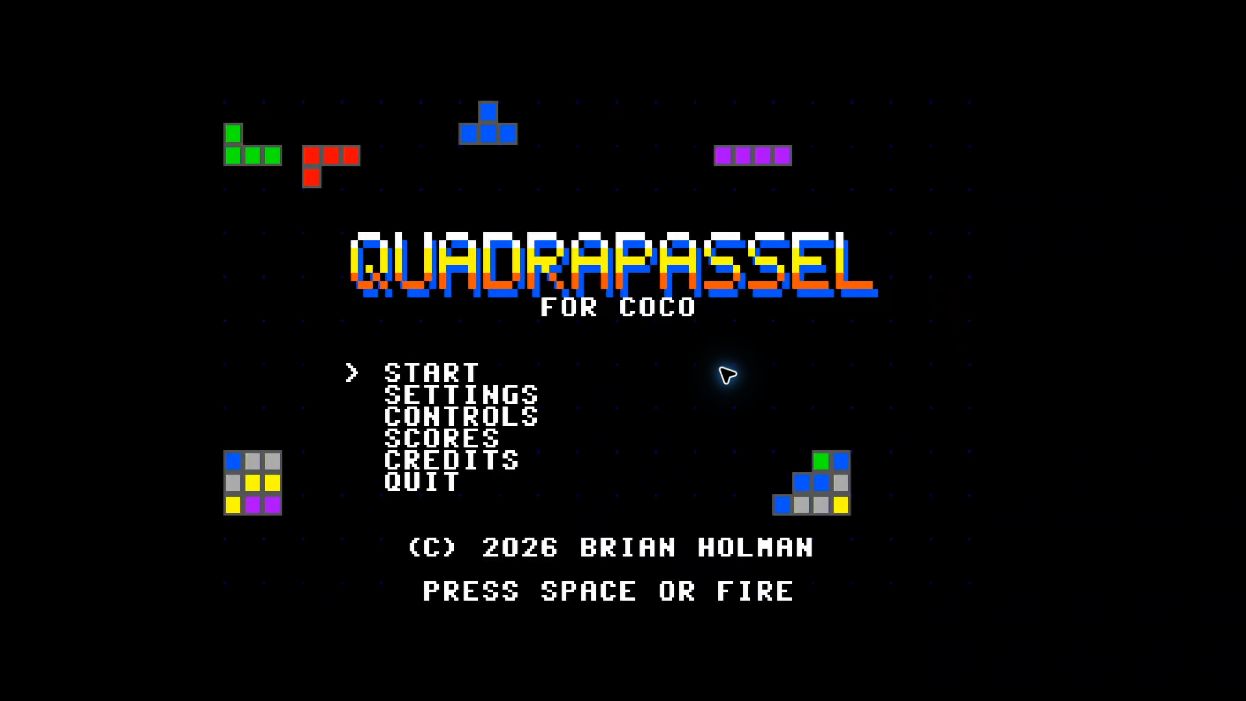
You should see the Quadrapassel title screen shown above. Press Space or your joystick’s Fire button to start. Use Controls on the title menu or the online player guide to review the controls before playing.
The complete image already contains its CoCo boot ROMs and both Sound & Speech chip ROMs. Sound & Speech is selected in the initial setup; its status is available under F12 > Sound & Expansion. Connect sound through HDMI or your I/O board’s supported audio output.
Your three included games
| Game | What you will find | Online player guide |
|---|---|---|
| Quadrapassel for CoCo | Falling blocks, line clearing, Modern or Classic scoring, keyboard or joystick play. | Play instructions and controls |
| Capital Quest for CoCo | Explore the 50 United States and their capitals, with map-based feedback and review. | Play instructions and controls |
| Bone Quest for CoCo | Learn 28 skeletal structures through a full skeleton, detail views and quizzes. | Play instructions and controls |
Each game’s folder also includes its PDF player guide. The VCC Plus games page is the source for the game downloads and current online documentation.
Choose another game
-
Save or finish your current game. Return to BASIC using the game’s exit command or F12 > Machine > Cold Boot.
-
Open F12 > Floppy Disks > Drive 0. Browse into StandardGames, then choose a game folder and its disk:
Folder Disk Quadrapassel QUADPSL05.DSKCapitalQuest CAPITAL.DSKBoneQuest BONEQ.DSK -
Close the menu. At the BASIC prompt, type DOS and press Enter.
You can continue using the normal floppy picker for your own compatible DSK files. The games live under games/coco3plus/StandardGames on the card.
Keep your progress
To bring a program you created in VCC Plus onto this machine, see Move your software onto Coco 3 Plus. It covers Windows and Mac network shares, the exact DSK folders and a card-reader route without a network connection.
The card contains writable game disks. The initial Quadrapassel startup disk is a separate working copy; reselecting the copy inside StandardGames uses that copy’s saves. Back up the card before replacing your working disks with new downloads. The original downloaded masters are preserved by the image build.
Explore the rest of your CoCo
Press F12 to choose cartridges, mount disks, configure input or change the display. Cartridges & Multi-Pak chooses devices; Floppy Disks chooses the media in those devices. Changing a cartridge device restarts the CoCo, so save your work first. Use MiSTer’s system menu to choose another core without a physical reset.
If the keyboard does not respond, check that it is connected to a USB data port and that the USB hub has its intended power feed. A port marked POWER ONLY does not carry keyboard data.